Gluten Free

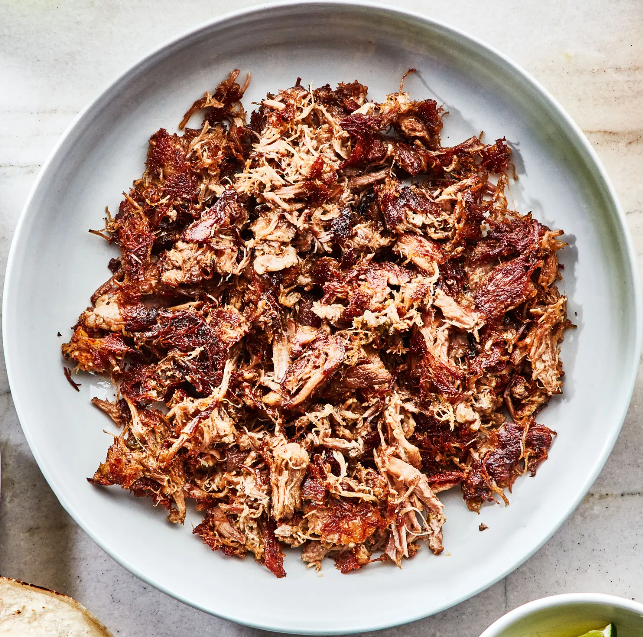
Instant Pot Pork Carnitas

Created on 7/8/2024

Ingredients:

  • 3 lb. skinless, boneless pork shoulder (Boston Butt), cut into 2″ pieces
  • 2 jalapeños, cut in half lengthwise, stems removed
  • 4 large garlic cloves
  • 1 Tbsp. Diamond Crystal or 1¼ tsp. Morton kosher salt
  • 1 tsp. dried oregano
  • 1 tsp. freshly ground black pepper
  • 1 tsp. ground coriander
  • 1 tsp. ground cumin
  • Corn tortillas, pico de gallo, lime wedges, guacamolepickled onions, chopped cilantro, shredded cabbage, and/or crema (for serving; optional)

Instructions:

Step One: Place pork, jalapeños, garlic, salt, oregano, pepper, coriander, and cumin in Instant Pot. Toss with your hands until well combined. Seal lid and cook on high pressure for 35 minutes

Step Two: Release pressure manually. Using a slotted spoon, transfer pork to a large bowl; fish out jalapeños and garlic and discard. Shred meat with two forks or your hands. Pour cooking liquid over meat and toss to combine

Step Three: Working in batches, transfer shredded pork to a large nonstick skillet set over high heat and cook, undisturbed, until underside is well browned, about 5 minutes. Toss and continue to cook, tossing occasionally, until some of the edges are caramelized and crisp, 5–7 minutes longer. Using a slotted spoon, transfer to a paper towel–lined baking sheet. Cover with foil to keep warm and moist

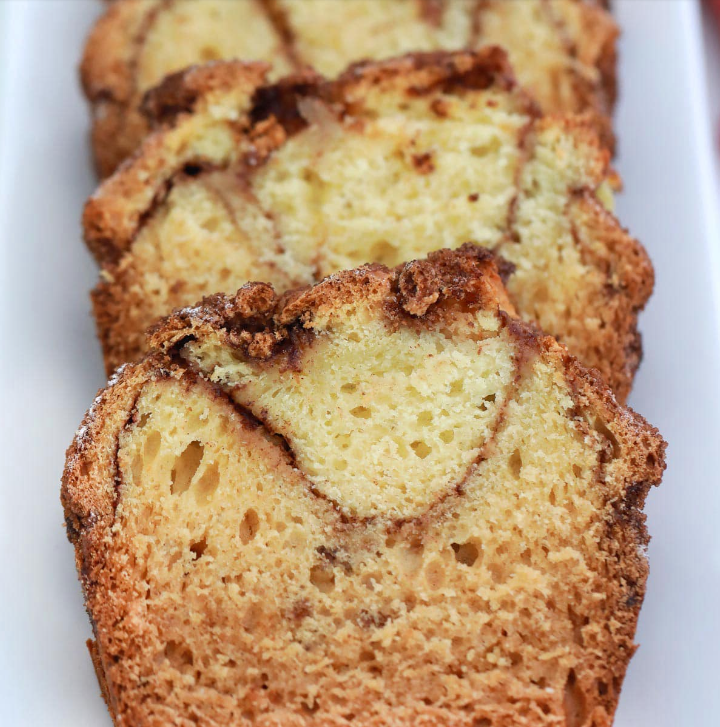
Gluten Free Cinnamon Bread

Created on 7/8/2024

Ingredients:

  • 1 ¾ cups (245 g) all purpose gluten free flour blend (I used Better Batter; please click thru for appropriate blends)
  • 1 teaspoon xanthan gum omit if your blend already contains it
  • 10 tablespoons (54 g) cornstarch
  • 1 ½ teaspoons baking powder
  • ½ teaspoon baking soda
  • ½ teaspoon kosher salt
  • ¾ cup (150 g) granulated sugar
  • 6 tablespoons (84 g) unsalted butter at room temperature
  • 1 cup (8 fluid ounces) buttermilk at room temperature
  • 2 (100 g (weighed out of shell)) eggs at room temperature, beaten
  • 1 teaspoon pure vanilla extract

FOR THE CINNAMON-SUGAR MIXTURE

  • ½ cup (100 g) granulated sugar
  • 2 teaspoons ground cinnamon

FOR THE (OPTIONAL) GLAZE

  • 1 cup (115 g) confectioners’ sugar
  • 1 tablespoon milk plus more by the 1/4 teaspoonful as needed

Instructions:

Step One: Preheat your oven to 350°F. Grease and line with unbleached parchment paper a standard 9-inch x 5-inch loaf pan and set it aside

Step Two: In a large bowl, place the flour, xanthan gum, cornstarch, baking powder, baking soda, salt and sugar, and whisk to combine well

Step Three: Create a well in the center of the dry ingredients and add the butter, buttermilk, eggs, and vanilla, mixing to combine after each addition. The batter will be thick and fluffy

Step Four: In a small bowl, place the granulated sugar and cinnamon, and mix to combine well

Step Five: Scrape half of the quick bread batter into the prepared loaf pan, and spread into an even layer with a wet spatula

Step Six: Place half of the cinnamon-sugar mixture on top and shake into an even layer

Step Seven: Place the remaining batter on top followed by the remaining cinnamon-sugar mixture, in the same manner

Step Eight: Using a wet butter knife at an angle perpendicular to the bottom of the loaf pan, carefully swirl the batter in all directions. The top of the batter should be craggy and uneven

Step Nine: Place the loaf pan in the center of the preheated oven and bake for 30 minutes at 350°F

Step Ten: Lower the oven temperature to 325°F, rotate the loaf pan 180°, and continue to bake until a toothpick inserted in the center of the loaf comes out with no more than a few moist crumbs attached, and the top is light golden brown and firm to the touch (about another 15 minutes)

Step Eleven: Remove from the oven and allow to cool in the baking pan for 15 minutes before transferring to a wire rack to cool completely

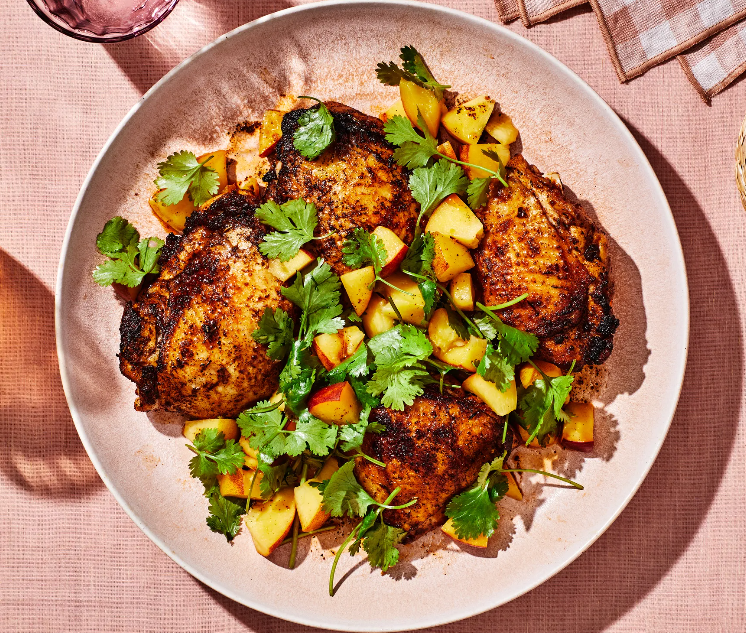
Cajun Chicken with Peach Salsa

Created on 7/8/2024

Ingredients:

  • 1½ lb. skinless, boneless chicken thighs (about 6)
  • 2 Tbsp. Cajun seasoning
  • 1½ tsp. Diamond Crystal or ¾ tsp. Morton kosher salt, divided
  • 3 Tbsp. extra-virgin olive oil, divided
  • 2 ripe peaches, peeled, cut into ½” pieces
  • Zest and juice of 1 lime
  • 1 cup cilantro leaves with tender stems

Instructions:

Step One: Toss 1½ lb. skinless, boneless chicken thighs (about 6) with 2 Tbsp. Cajun seasoning, 1 tsp. Diamond Crystal or ½ tsp. Morton kosher salt, and 1 Tbsp. extra-virgin olive oil in a medium bowl to coat

Step Two: Toss 2 ripe peaches, peeled, cut into ½” pieces, and remaining ½ tsp. Diamond Crystal or ¼ tsp. Morton kosher salt in a mesh sieve set inside another medium bowl to combine; set aside

Step Three: Heat remaining 2 Tbsp. extra-virgin olive oil in a large skillet over medium. Cook chicken in a single layer, turning halfway through, until charred in spots and cooked through, 12–16 minutes. Transfer to a platter

Step Four: Discard (or drink; it’s delicious!) any juice in bowl. Transfer peaches to bowl and add zest and juice of 1 lime and 1 cup cilantro leaves with tender stems and toss gently to combine. Taste peach salsa and season with more salt if needed. Spoon over chicken thighs

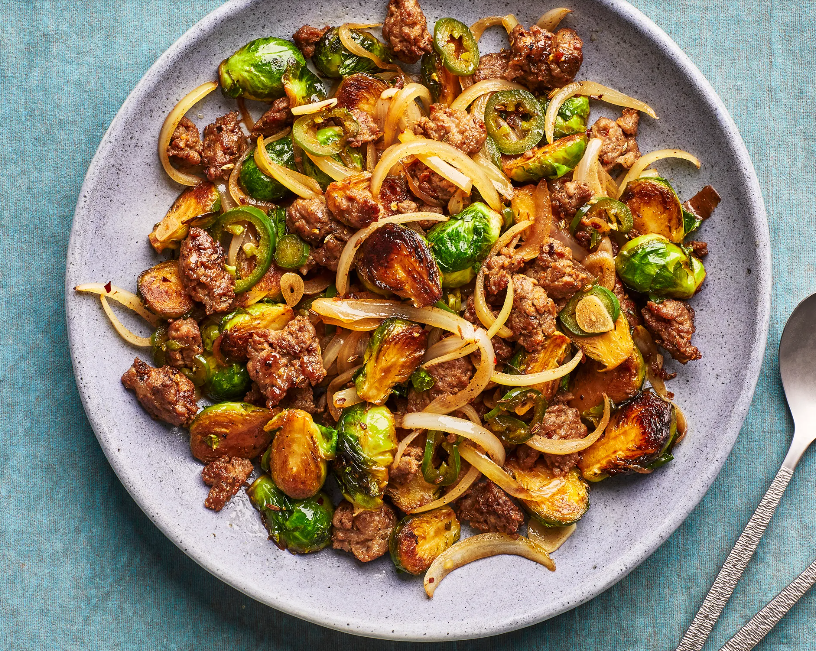
Brussel Sprouts and Sausage Stir Fry

Created on 7/8/2024

Ingredients:

  • 1 Tbsp. (or more) vegetable oil
  • 1 lb. hot Italian sausage, casings removed
  • 1 medium onion, thinly sliced
  • 4 garlic cloves, thinly sliced
  • 1 small jalapeño, thinly sliced
  • 1 lb. brussels sprouts, halved
  • Kosher salt
  • 2 Tbsp. soy sauce
  • 1 Tbsp. sherry vinegar or red wine vinegar
  • 2½ tsp. five-spice powder

Instructions

Step One: Heat a dry large nonstick skillet or wok over high. Add 1 Tbsp. vegetable oil, then 1 lb. hot Italian sausage, casings removed. Using a wooden spoon, break up sausage into bite-size pieces and cook, stirring every couple of minutes, until sausage is mostly cooked through with some golden brown edges, 6–8 minutes. Using a slotted spoon, transfer sausage to a plate. Pour fat in skillet into a small heatproof bowl or measuring glass

Step Two: Add 1 Tbsp. fat back to pan and cook 1 medium onion, thinly sliced, tossing every 30 seconds or so, until softened but not floppy, about 3 minutes. Stir in 4 garlic cloves, thinly sliced, and 1 small jalapeño, thinly sliced, and cook, stirring often, until softened, about 2 minute. Transfer to plate with sausage

Step Three: Heat another 3 Tbsp. fat (or vegetable oil if you’ve run out of fat) in same pan. Add 1 lb. brussels sprouts, halved, season with kosher salt, and toss to combine. Arrange brussels sprouts so each piece has as much contact with pan as possible. Let cook, undisturbed, until golden brown around edges underneath, about 3 minutes. Toss and pour in 2 Tbsp. soy sauce and ½ cup water. Reduce heat to medium, cover pan, and cook until brussels sprouts are just tender, about 5 minutes. Remove pan from heat and return sausage and onion mixture back to pan if you have room. Add 1 Tbsp. sherry vinegar or red wine vinegar and 2½ tsp. five-spice powder and toss to combine. (If you don’t have enough room in the pan, toss everything together in a large bowl.)

Story: Drew and my work schedules are so crazy right now. He is working 60 hours weekends, and I had to find a recipe that comes together in under 30 mintes, tastes delicious, and is good for Drew’s lunches.

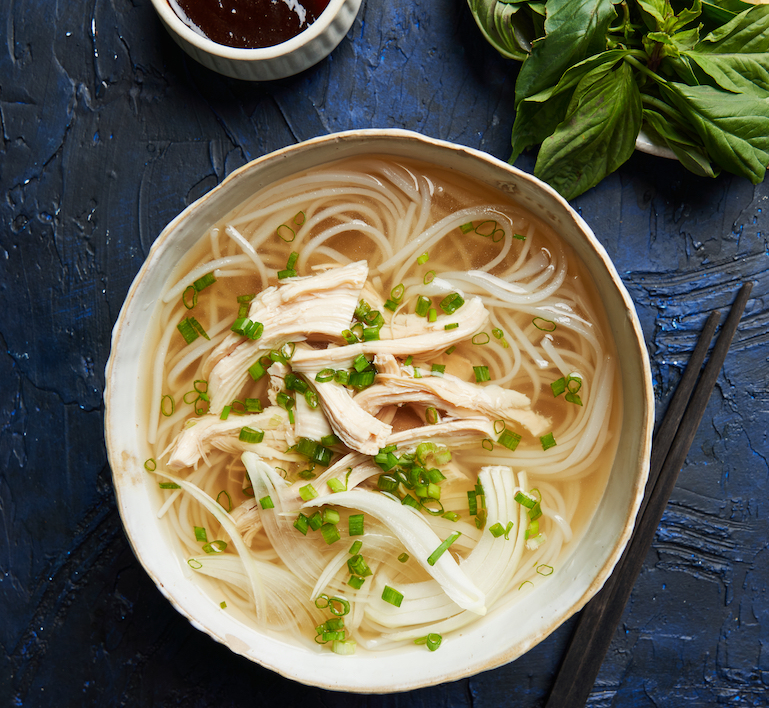
20 – Minute Chicken Pho

Created on 6/21/2024

Ingredients:

  • 1 rotisserie roast chicken
  • 1 onion, skin on, halved
  • 4cm (1.5”) piece of ginger, sliced
  • 1 cinnamon stick
  • 3 whole star anise
  • 3 tbsp fish sauce, or to taste
  • 2 tsp salt, or to taste
  • 2 beef stock cubes
  • 400g (14 oz) dried rice stick noodles

To Serve:

  • ½ onion, finely sliced
  • ¼ cup spring onion (scallions)
  • bean shoots
  • Thai basil leaves
  • lemon wedges
  • sliced red chilli
  • hoisin sauce (optional)
  • sriracha sauce (optional)

Instructions:

Step One: Remove the chicken meat from the rotisserie chicken. Shred and set aside until ready to serve

Step Two: Place the bones of the rotisserie chicken in a large microwave-safe bowl. Add the onion, ginger, cinnamon stick and star anise. Top with 2 litres (2.1 qt) of water. Microwave on high (1000W) for 10 minutes. Crumble in the beef stock cubes and stir to combine. Microwave on high for a further 5 minutes. Remove from the microwave and strain the broth, discarding the solids. Taste and season with the fish sauce and salt to taste

Step Three: In the meantime, soak the noodles in room temperature water for 10-15 minutes or until softened slightly. Cook in boiling water for 2-3 minutes or until the noodles are just tender. Drain and divide among serving bowls

Step Four: To serve, top the noodles with onion slices, chicken meat and spring onion. Ladle over hot broth (reheat in the microwave if you need). Serve with the bean shoots, Thai basil, lemon, chilli, hoisin and sriracha

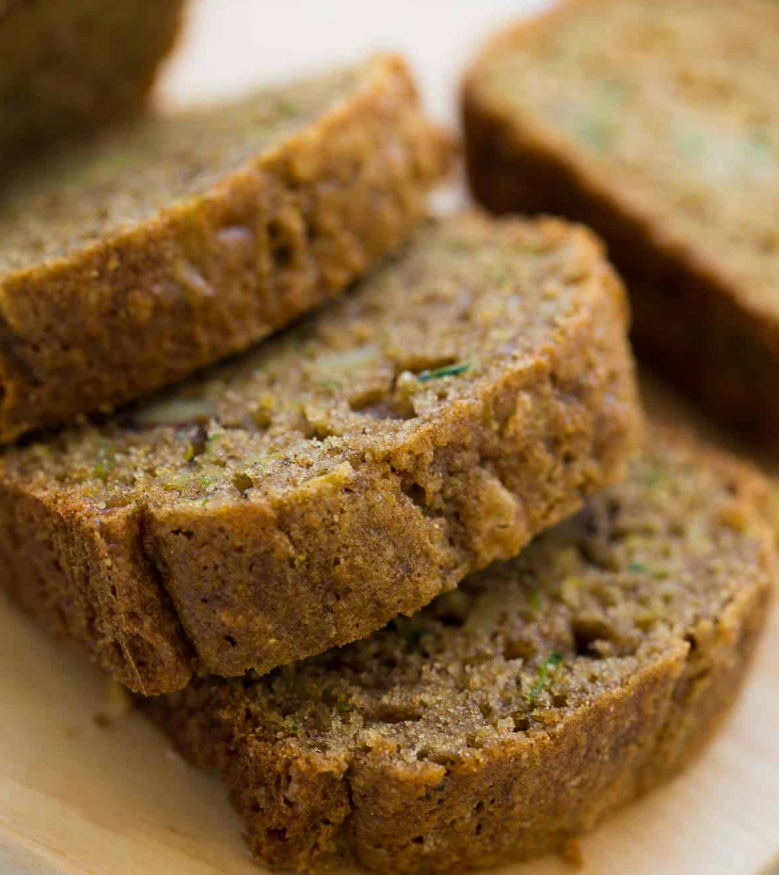
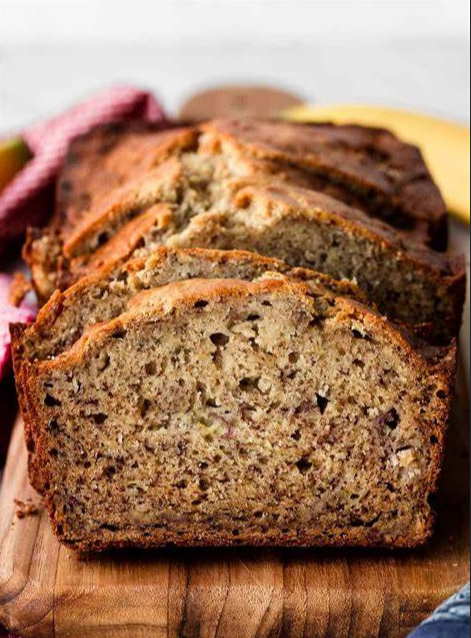
Gluten Free Banana Bread

Created on 5/28/2024

Ingredients:

  • 2 cups gluten-free all-purpose baking flour (without xanthan gum)
  • 1 teaspoon baking soda
  • 1/4 teaspoon salt
  • 4 large eggs, room temperature
  • 2 cups mashed ripe bananas (4-5 medium)
  • 1 cup sugar
  • 1/2 cup unsweetened applesauce
  • 1/3 cup canola oil
  • 1 teaspoon vanilla extract
  • 1/2 cup chopped walnuts

Instructions:

Step One: Preheat the oven to 350°F. In a large bowl, whisk together the flour, baking soda and salt

Step Two: In a small bowl, whisk together the eggs, bananas, sugar, applesauce, oil and vanilla

Step Three: Stir the wet ingredients into the dry ingredients just until moistened

Step Four: Pour the batter into two greased 8×4-inch loaf pans. Sprinkle the tops of each with the walnuts

Step Five: Bake until a toothpick inserted in the center comes out clean, 45 to 55 minutes. Cool the loaves in their pans for 10 minutes. Remove the loaves from the pans and put them on wire racks. Let them cool completely to room temperature

Story: I recently made a promise to myself to always have at least one baked good in our dessert display. I’ve been making this recipe for Drew on repeat and only crumbs remain after a couple days!

Gluten-Free Chocolate Chip Cookies

Created on 5/24/2024

Ingredients:

  • 1 1/3 cups (225g) gluten-free measure-for-measure flour
  • 1/4 cup (25g) almond flour
  • 1 teaspoon baking soda
  • 1/2 teaspoon kosher salt
  • 1/2 cup (113g) butter
  • 1 tablespoon milk of choice
  • 3/4 cup (160g) brown sugar
  • 1/4 cup (50g) granulated sugar
  • 1 large egg
  • 2 teaspoons vanilla extract
  • 1 cup (170g) chocolate chips
  • sea salt for sprinkling optional

Instructions:
Step One: In a medium bowl, whisk together the gluten-free flour, almond flour, baking soda and salt. Set aside

Step Two: Melt the butter in a medium skillet over medium-low heat, stirring occasionally

Step Three: Once the butter is melted and begins to foam, stir continuously to prevent the milk solids from sticking to the skillet. The butter will change from yellow to golden brown quickly and will have a nutty aroma. Remove from the heat and immediately pour into a medium bowl

Step Four: Add the milk, brown sugar and granulated sugar to the brown butter. Whisk to combine.

Step Five: Whisk in the egg and vanilla until smooth and creamy

Step Six: Using a rubber spatula, mix in the dry ingredients until well-combined. Stir in the chocolate chips

Step Seven: Cover the bowl and let the dough sit at room temperature for 30 minutes, or refrigerate for up to 5 days

Step Eight: Preheat the oven to 350°F. Line large baking sheets with parchment paper or silicone baking mats

Step Nine: Scoop the cookie dough into round balls, about 2 tablespoons per ball. Place on the prepared baking sheet, about 2 inches apart

Step Ten: Bake for 10-12 minutes or until the edges are golden brown and the center is set

Step Eleven: Remove from the oven and cool on the baking sheet for 5 minutes. Sprinkle with flaky salt, if desired. Transfer to a wire rack to cool completely

Notes:

Gluten-Free Flour: Be sure to use a gluten-free flour blend that contains xanthan gum. I use King Arthur Flour Measure-for-Measure Flour. Other 1:1 gluten-free flours that contain xanthan gum such as Bob’s Red Mill 1:1 Baking Flour will also work. Dairy-Free: Skip steps 2-3 and simply use melted dairy-free butter (note that dairy-free butter will not brown). Omit the milk. Use dairy-free chocolate chips. 

Story: I made these when Drew’s parents came to town to help us work on our one-car garage, plant 11 trees, and hang two ceiling fans. The least I could do to thank them was make these GF cookies.

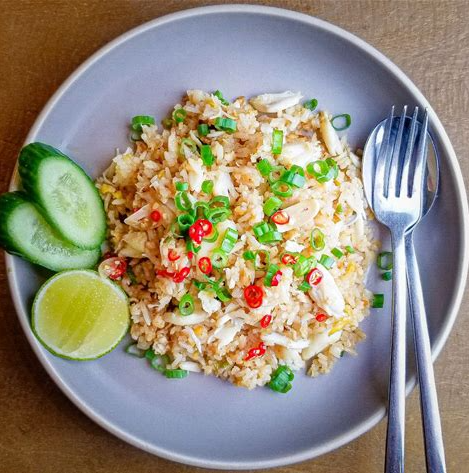
Crab Fried Rice

Created on 5/13/2024

Ingredients:

Instructions:

Step One: First, prep all of your ingredients, including your aromatics–ginger, garlic, cilantro, and scallion. Prep the beaten eggs as well and set them aside. Only when you have all the ingredients prepared and ready to go should you start cooking

Step Two: Heat the cooking oil in a wok over medium-high heat. Add the ginger first, stirring for 30 seconds. Then add the garlic. When the garlic is just cooked (before it starts to turn golden), add the cooked rice to the wok, and turn up the heat to high. Stir fry the rice for 3 minutes or so until it’s thoroughly combined with the ginger/garlic mixture and/or warmed through if you’re using leftover rice

Step Three: Now for the flavorings: add the white pepper, fish sauce, soy sauce, and shaoxing wine to the rice. If it’s not quite salty enough for you or if you know you won’t be eating it with added hot sauce, now is the time to add salt to taste. Stir-fry to combine

Step Four: Using your spatula, spread the rice out into an even layer along the surface of the wok. Pour the beaten egg evenly over the rice. Stir the rice until all of the egg is cooked and incorporated. The egg coats the rice and makes for a most excellent savory experience. Much better than broken up bits/huge chunks of scrambled egg throughout

Step Five: Before adding the crab, use your spatula to once more spread the rice evenly in the wok. Add the crab to the rice and stir fry thoroughly. When the crab is warmed through, add the scallion and cilantro and stir-fry briefly until the herbs are just wilted. Serve and finish with a squeeze of lime and your favorite chili oil

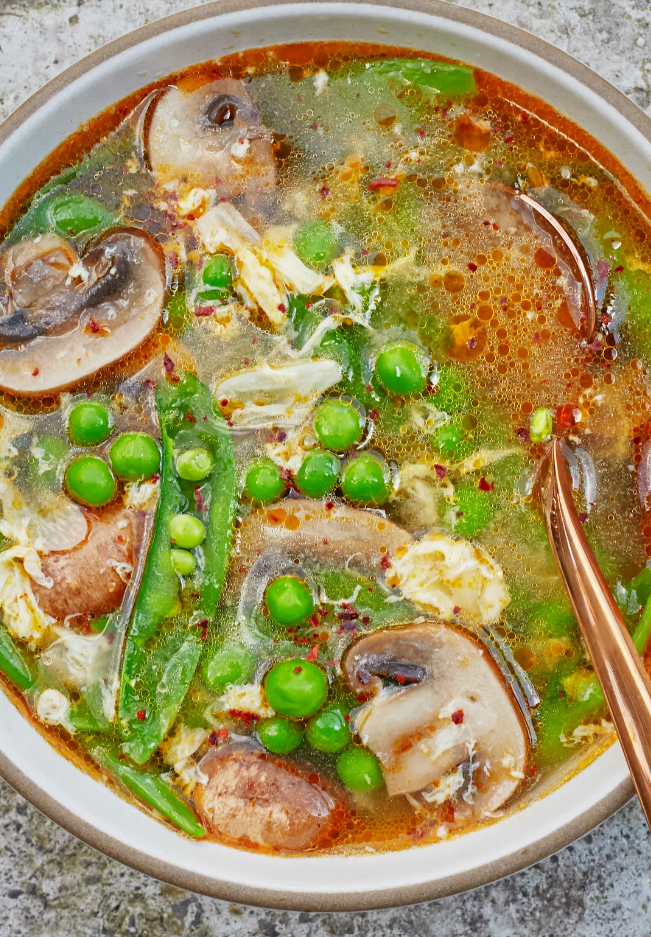
Hot and Sour Soup

Created on 1/10/2024

Ingredients:

  • 1 Tbsp. extra-virgin olive oil or vegetable oil
  • 6 garlic cloves, thinly sliced
  • 2 1” piece ginger, peeled, finely chopped
  • 2 Tbsp. dark miso
  • 1 Tbsp. soy sauce
  • 4 tsp. unseasoned rice vinegar or apple cider vinegar
  • ½ tsp. toasted sesame oil
  • 1 tsp. Aleppo-style pepper or ¼ tsp. crushed red pepper flakes, plus more for serving if desired
  • 2 oz. shiitake or crimini mushrooms, trimmed, thinly sliced
  • 1 cup mixed peas (such as baby and/or trimmed snow and/or sugar snap, halved if large)
  • 1 large egg, lightly beaten, or 8 oz. silken tofu or 2.5 oz. yuba sheets
  • Kosher salt
  • Optional – squeeze of lime, udon noodles, cilantro, switch out water for chicken broth

Instructions:

Step One: Heat olive oil in a medium saucepan over medium. Cook garlic and ginger, stirring often, until softened and very fragrant, about 3 minutes. Add 3 cups water. Combine miso and 2 Tbsp. water in a small bowl and stir to dissolve miso. Whisk into aromatics, then add soy sauce, vinegar, sesame oil, and ½ tsp. Aleppo-style pepper. Increase heat to medium-high and bring to a simmer. Reduce heat as needed to maintain a simmer and cook until flavors come together, about 10 minutes

Step Two: Add mushrooms and peas and cook until crisp-tender, about 3 minutes. Gently stir in the egg (a few turns of a spoon will be enough to set it into ribbons without blasting it apart) and cook until just set, about 30 seconds. Or, if using tofu, drop in by spoonfuls, or if using yuba, thinly slice before adding, and cook just until heated through, about 1 minute. Season with salt

Step Three: Ladle soup into bowls and sprinkle with more Aleppo-style pepper if desired

Notes: For a hardier soup, serve over cooked udon noodles. If the soup is too bland, add a squeeze of lime and chopped cilantro

Char Sui Pork

Created on 1/8/2023

Ingredients:

  • 2 tablespoons honey (or maltose or barley malt syrup or fancy molasses (not blackstrap molasses))
  • 1-2 cubes  red fermented tofu (add an additional 4 teaspoons of the sauce, mashed together – this is also known as red bean curd) (Substitute gochujang, find GF version)
  • 2 tablespoons hoisin sauce (check for wheat as a thickening agent to keep GF)
  • 2 tablespoons soy sauce (swap for GF soy sauce)
  • 2 cloves garlic (roughly chopped, approximately 1 ½ tablespoons)
  • 4 slices of ginger (roughly chopped, approximately 2-3 tablespoons)
  • 1 teaspoon  Chinese five spice powder (Substitute star anise, nutmeg and onion powder)
  • 2 tablespoons Chinese rice cooking wine (or dry sherry or mirin)
  • ½ teaspoon salt
  • 1 tablespoon Korean pepper flakes (optional, for additional color and a mild spiciness. It will also give it an earthier flavor)
  • 2-3 lbs pork shoulder (cut into long strips, 3 inch wide)

Instructions

Cutting and Marinating the Meat

  • Cut the pork shoulder into long strips, that are roughly 3 inch thick. Mine are usually sized around 3 inches wide, and 5-7 inches long
  • Combine the ingredients in the marinade section into a ziplock or a big bowl and combine it with the pork
  • Marinate it in the fridge for 24 hours

Preparing the Glaze

  • Remove the meat from the marinade and let it sit for an hour at room temperature before cooking
  • Add all the marinade to a small pot including the chunks of garlic and ginger. Cooking the glaze with the ginger and garlic will make it more flavourful.
  • Add 2 tablespoons of honey into the marinade and mix well
  • Cook it on low heat on a stove for 5 minutes or when the sauce starts to boil.
  • Set it aside for later, we will use this for glazing at the end

Grilling the Pork on the BBQ

  • Heat up BBQ to 325F (162C)
  • Cook the char siu for 15 mins on one side, then flip it for another 10 mins. Check the meat thermometer. The temperature should be around 145F (62C). If it’s not, keep the meat on longer until it reaches that internal temperature
  • Once it hits an internal temperature of 145F (62C), we will use the glaze and glaze it 4-5 times, flipping the meat every minute to prevent burning
  • When the meat looks red, sticky and slightly burnt, remove it from the BBQ and let it rest for 20 mins on a plate before cutting into it
  • Once the meat has rested, cut it up and enjoy